House cleaning takes a lot of work—and a lot of time! But with smart strategies and a little help, you can get the job done faster, more efficiently, and maybe even enjoy the process.
In this complete house cleaning guide, you’ll learn the best order to clean your home, time-saving cleaning tips, and how to avoid common mistakes like cleaning the floors too early. Let’s dive in!
The smartest way to clean your home is to start from the top and work your way down. This includes ceiling fans, shelves, and upper cabinets first, then finishing with the baseboards and floors.
Why? If you clean the floor first and then dust a fan or wipe down high shelves, the dust and debris will fall—forcing you to clean the floor again.
While hiring a professional house cleaner can be helpful, cleaning your home yourself—or with help from family—can save you time, money, and effort. With the right cleaning strategy, it’s entirely possible to maintain a spotless home without the added cost of professional services.
💡 Pro Tip: Break your cleaning tasks into smaller sections over several days to avoid burnout. A room-by-room cleaning schedule makes the process more manageable and helps you stay consistent.
Step 1: Dust from Top to Bottom for a Cleaner Home

Start your house cleaning routine by dusting the highest areas first, such as ceiling fans, upper shelves, tall furniture, and cabinet tops. Then work your way down to mid-level surfaces like electronics, houseplants, curtains, and bedding. The goal is to dust every surface in your home—from top to bottom—so no debris is left behind.
Use the Right Dusting Tools
Using effective dusting tools is key. Instead of climbing a ladder to clean ceiling fans, opt for a long-handled fan duster, which is safer and more efficient. For furniture and electronics, a microfiber cloth works best to trap dust without scratching surfaces.
💡 Pro Tip: Lightly mist your dusting cloth with water or a dusting spray before you begin. This helps capture more dust and keeps it from becoming airborne.
Once you’ve finished dusting the high areas, move on to lower surfaces. Wipe in all directions—up, down, and around corners—to make sure you’re not just shifting the dust around.
Don’t Forget the Floors
After dusting, vacuum or sweep thoroughly to collect any dust that has settled. Pay extra attention to corners, under furniture, and around baseboards, where dust tends to accumulate the most.
Looking for more cleaning and organizing tips?
Subscribe to our free daily newsletter for expert insights, practical hacks, and the latest home care advice delivered straight to your inbox!
Step 2: Clean Windows, Mirrors, and Picture Frames for a Streak-Free Shine

After dusting, focus on cleaning glass surfaces like windows, mirrors, and picture frames. These areas often take more time than expected—especially in larger homes—but the results are worth it. Clean, streak-free glass instantly brightens up your home and boosts its overall appearance.
How to Clean Windows Effectively
Start by spraying your windows with a glass cleaner, water in a spray bottle, or a garden hose for exterior surfaces. Use a lint-free cloth or a squeegee and work from top to bottom to prevent drips and streaks.
💡 Pro Tip: Clean both the interior and exterior sides of windows when possible for a truly clear view.
For best results:
- Use a microfiber towel or squeegee to prevent lint and streaks.
- Keep both large and small squeegees on hand to reach different window sizes and corners.
Cleaning Mirrors Without Streaks
Use a microfiber cloth and a high-quality glass cleaner to clean mirrors. Wipe in a circular motion or top-to-bottom, and avoid using paper towels, which can leave behind fibers or streaks.
How to Clean Picture Frames Safely
- For glass-covered frames, lightly spray a cloth (not the glass) with cleaner and gently wipe.
- For non-glass artwork or photos, skip the liquids entirely. Use a dry, soft cloth to avoid damaging the surface.
- Be extra careful around edges and decorative corners to avoid lifting paint or scratching materials.
Step 3: Clean Furniture, Cabinets, and Electronics the Right Way
Once your glass surfaces are sparkling, it’s time to clean and care for your furniture, cabinets, and electronics. These are often overlooked areas, but they collect a surprising amount of dust and grime. Regular maintenance keeps them looking their best and extends their lifespan.
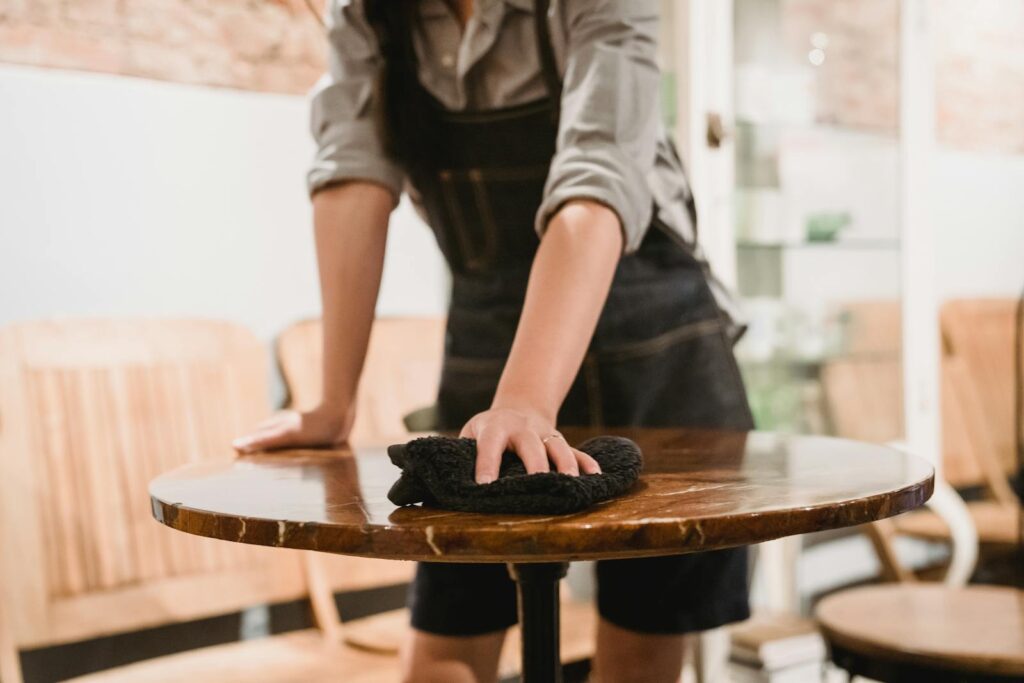
How to Clean Furniture Safely
When cleaning furniture, use a soft, non-abrasive cloth and a gentle cleaning product that won’t damage finishes or strip paint. Wipe down all visible areas, paying extra attention to:
- Corners and edges
- Legs and undersides
- Decorative trim or grooves
For wood furniture, follow up with a furniture polish designed to restore shine and protect the surface. Some polishes may irritate skin, so it’s a good idea to wear gloves while applying them.
💡 Furniture Cleaning Tip: Test any cleaner or polish on a small, hidden area first to make sure it won’t discolor or damage the surface.
Cleaning Cabinets and Handles
Cabinets can be cleaned using the same approach as furniture. Use a mild all-purpose cleaner and a soft cloth, focusing on:
- Areas near the stove where grease may build up
- Handles and knobs
- Door edges
How to Clean Electronics Without Damage
Dust is the biggest threat to electronics. Here’s how to clean them safely:
- Use a microfiber cloth to gently wipe screens, keyboards, and devices.
- For vents, tight spots, and between keys, use a can of compressed air.
- Always power down electronics before cleaning to reduce risk and make smudges easier to see.
⚠️ Avoid spraying cleaners directly onto electronics—spray your cloth instead.
Step 4: Clean the Kitchen and Bathrooms for a Healthier Home

Cleaning the kitchen and bathrooms is one of the most important—and satisfying—parts of any house cleaning routine. These high-use areas collect germs, grease, and grime faster than any other room, so giving them proper attention makes a huge difference in both cleanliness and comfort.
Cleaning the kitchen and bathrooms is one of the most important—and satisfying—parts of any house cleaning routine. These high-use areas collect germs, grease, and grime faster than any other room, so giving them proper attention makes a huge difference in both cleanliness and comfort.
Kitchen Cleaning Tips
Start by washing any dirty dishes and clearing out the sink. Then wipe down:
- Counters and tabletops
- Appliance surfaces like the microwave, stove, and oven (be sure to clean up splatters and grease)
- Cabinet faces and backsplashes
Don’t forget to:
- Remove and wash the tablecloth or placemats
- Reset the table neatly
- Take out the trash and replace the liner for a fresh finish
💡 Pro Tip: Use a degreaser or vinegar-based solution for tough kitchen messes on stovetops and countertops.
Bathroom Cleaning Checklist
Gather your supplies before starting:
- Rubbing alcohol or bathroom-safe disinfectant
- Toilet bowl cleaner (e.g., Lysol)
- Toilet brush
- Paper towels or microfiber cloths
Then, clean in this order:
- Wipe down counters, sink, and faucet
- Clean the toilet—including the handle, base, and seat
- Apply toilet bowl cleaner and let it sit for 5–10 minutes
- Scrub thoroughly with a toilet brush and flush
The goal is a spotless finish—no hairs, residue, or missed corners.
One reason I enjoy this step is that, despite how important it is, it often takes less time than other tasks while offering visible, satisfying results.
Step 5: Effective Floor Cleaning – Sweeping, Mopping, and Vacuuming for a Pristine Home
Regular floor cleaning is a vital step in ensuring a clean and healthy living environment. Over time, floors collect dust, dirt, crumbs, hair, grime, and other debris—often more than you might realize. To keep your home looking pristine, it’s essential to choose the right cleaning method based on the type of flooring you have.
How to Clean Different Types of Flooring
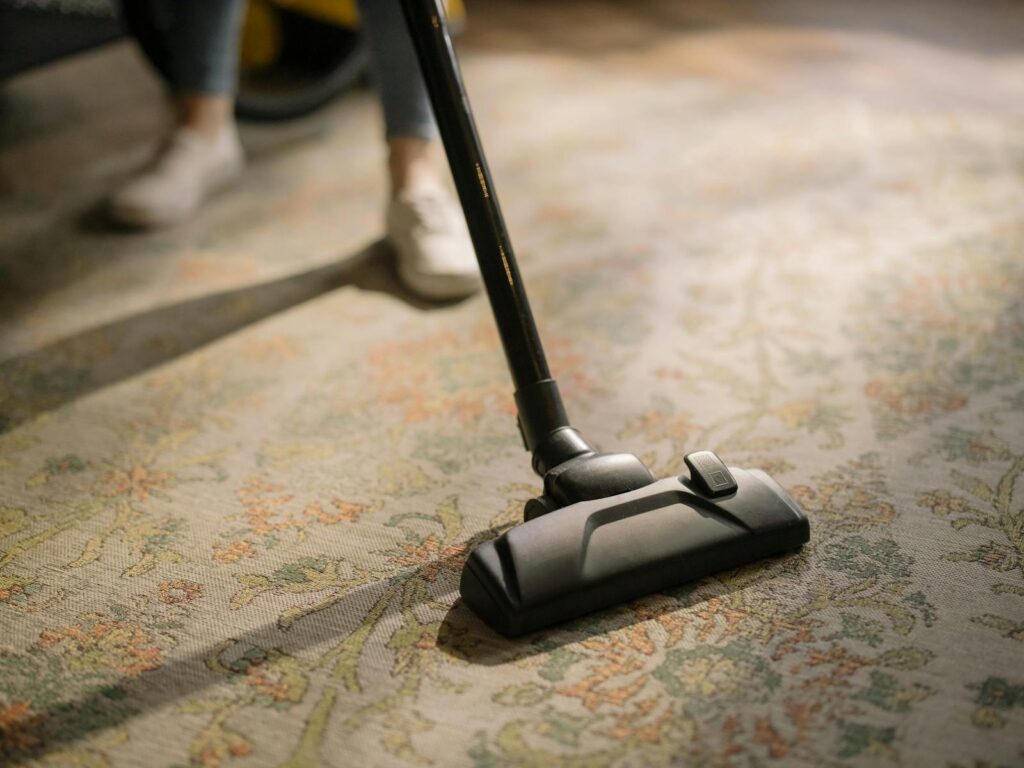
1. Carpet Cleaning: Vacuuming is Key
Carpets are notorious for trapping dirt and debris. To maintain a clean carpet, regular vacuuming is crucial. Vacuuming helps lift dirt and embedded particles, keeping your carpet fresh and extending its lifespan. Make sure to use the appropriate vacuum settings and attachments to effectively clean your carpet without damaging the fibers.
2. Wood Floor Care: Sweep and Mop with Caution
Wood floors require special attention to preserve their beauty and finish. Begin by sweeping the floor to remove loose dirt and debris. After sweeping, mop with a cleaning solution designed specifically for wood surfaces. Avoid using excessive water, as it can damage the wood. Regular care can help protect the wood’s natural finish and prevent wear.
3. Tile Floor Maintenance: Sweep, Scrub, and Mop
Tile floors are easy to clean but benefit from regular maintenance. Start by sweeping to remove loose debris, then scrub any stubborn stains or grime with a suitable cleaner. Afterward, mop the tiles to remove any lingering dirt and ensure they shine. Regular cleaning helps to maintain the tile’s luster and prevent buildup.
Don’t Forget the Baseboards!
While it’s easy to focus on the main floor area, baseboards are often overlooked. Dust and dirt tend to accumulate along baseboards, making them look dingy and detracting from the overall cleanliness of your space. Use a microfiber cloth or a gentle cleaning product to wipe down your baseboards regularly for a truly clean home.
House Cleaning Tips: Stay Motivated and Tidy Your Home Efficiently
Cleaning your home doesn’t have to be a daunting task. Follow these practical house cleaning tips to make the process faster and more enjoyable, leaving your space sparkling clean in no time!
1. Stay Motivated with Music

If listening to music helps you stay focused and energized, play your favorite tunes while cleaning. Music can make the process more enjoyable and help you maintain momentum throughout the task.
2. Plan and Break Down Your Tasks
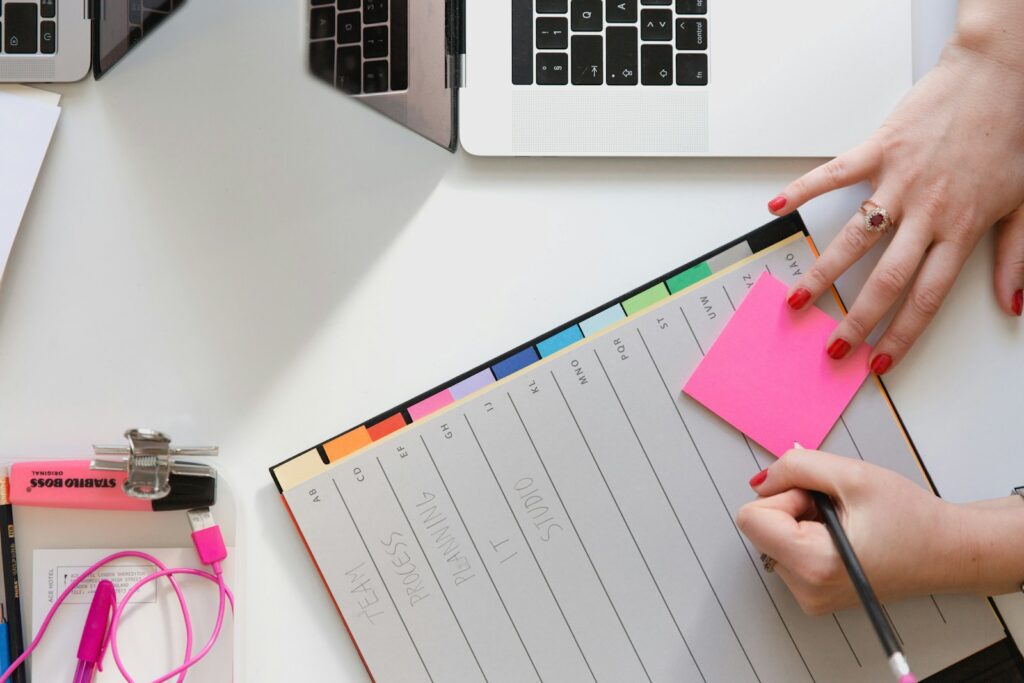
Creating a cleaning plan is key to staying organized. Divide your cleaning tasks into manageable sections to make the job feel less overwhelming. This also helps you stay on track and ensures that you don’t miss any important areas.
3. Get Help for Faster Cleaning
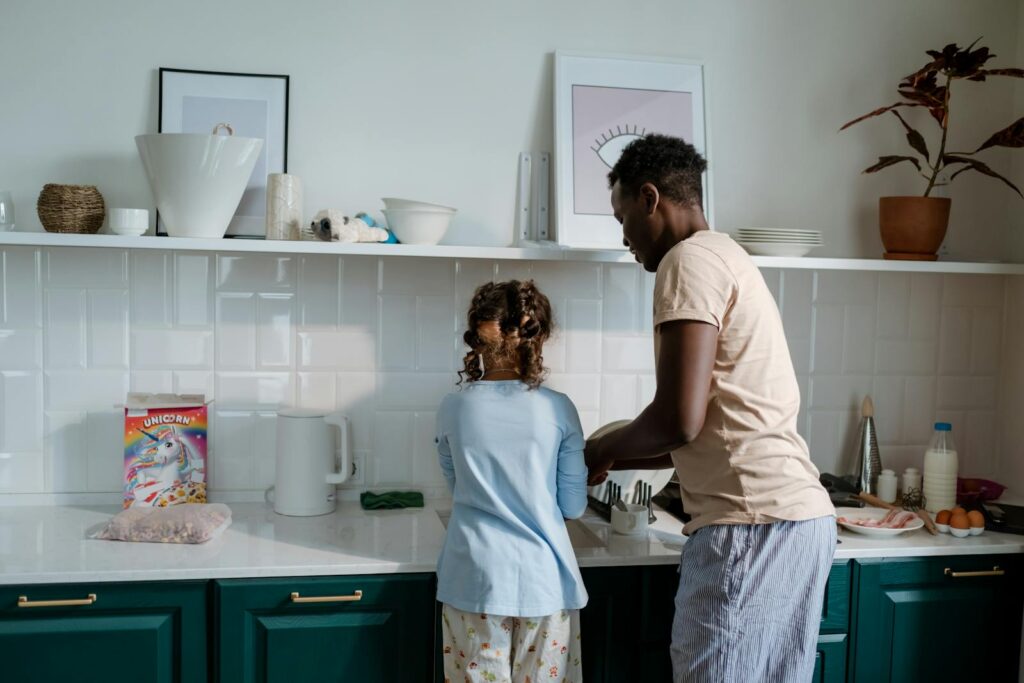
Cleaning with a partner, family member, or friend can make the job much quicker and more enjoyable. Teamwork allows you to finish the job faster, so don’t hesitate to ask for help when needed.
4. Don’t Forget the Details
Remember to clean the doors, remove any marks from walls, and tidy up the garage. These often-overlooked areas can make a huge difference in the overall appearance of your home. Also, take time to organize out-of-place items for a more polished look.
5. Be Mindful of Your Surroundings

If you have young children or babies at home, be mindful of your environment while cleaning. You might choose to skip the music to stay alert and ensure you’re available if your little one needs attention.
Finally, Your House is Clean! What a Relief!
Congratulations on getting your home sparkling clean! We hope this quick house cleaning guide helped make the process easier and more enjoyable.
Thank You for Reading!
If you found these cleaning tips useful, be sure to subscribe to our newsletter for more practical advice and helpful content. We’re always sharing new tips to keep your home looking its best!
Thanks again for your time and attention – we appreciate you!